We worked The Andy Warhol Museum, conducting a comprehensive overhaul of warhol.org. Launched in May 2017, The redesign included migrating the backend to WordPress, redesigning the frontend, establishing a content strategy, implementing a new information architecture, and auditing and rewriting all text and images.
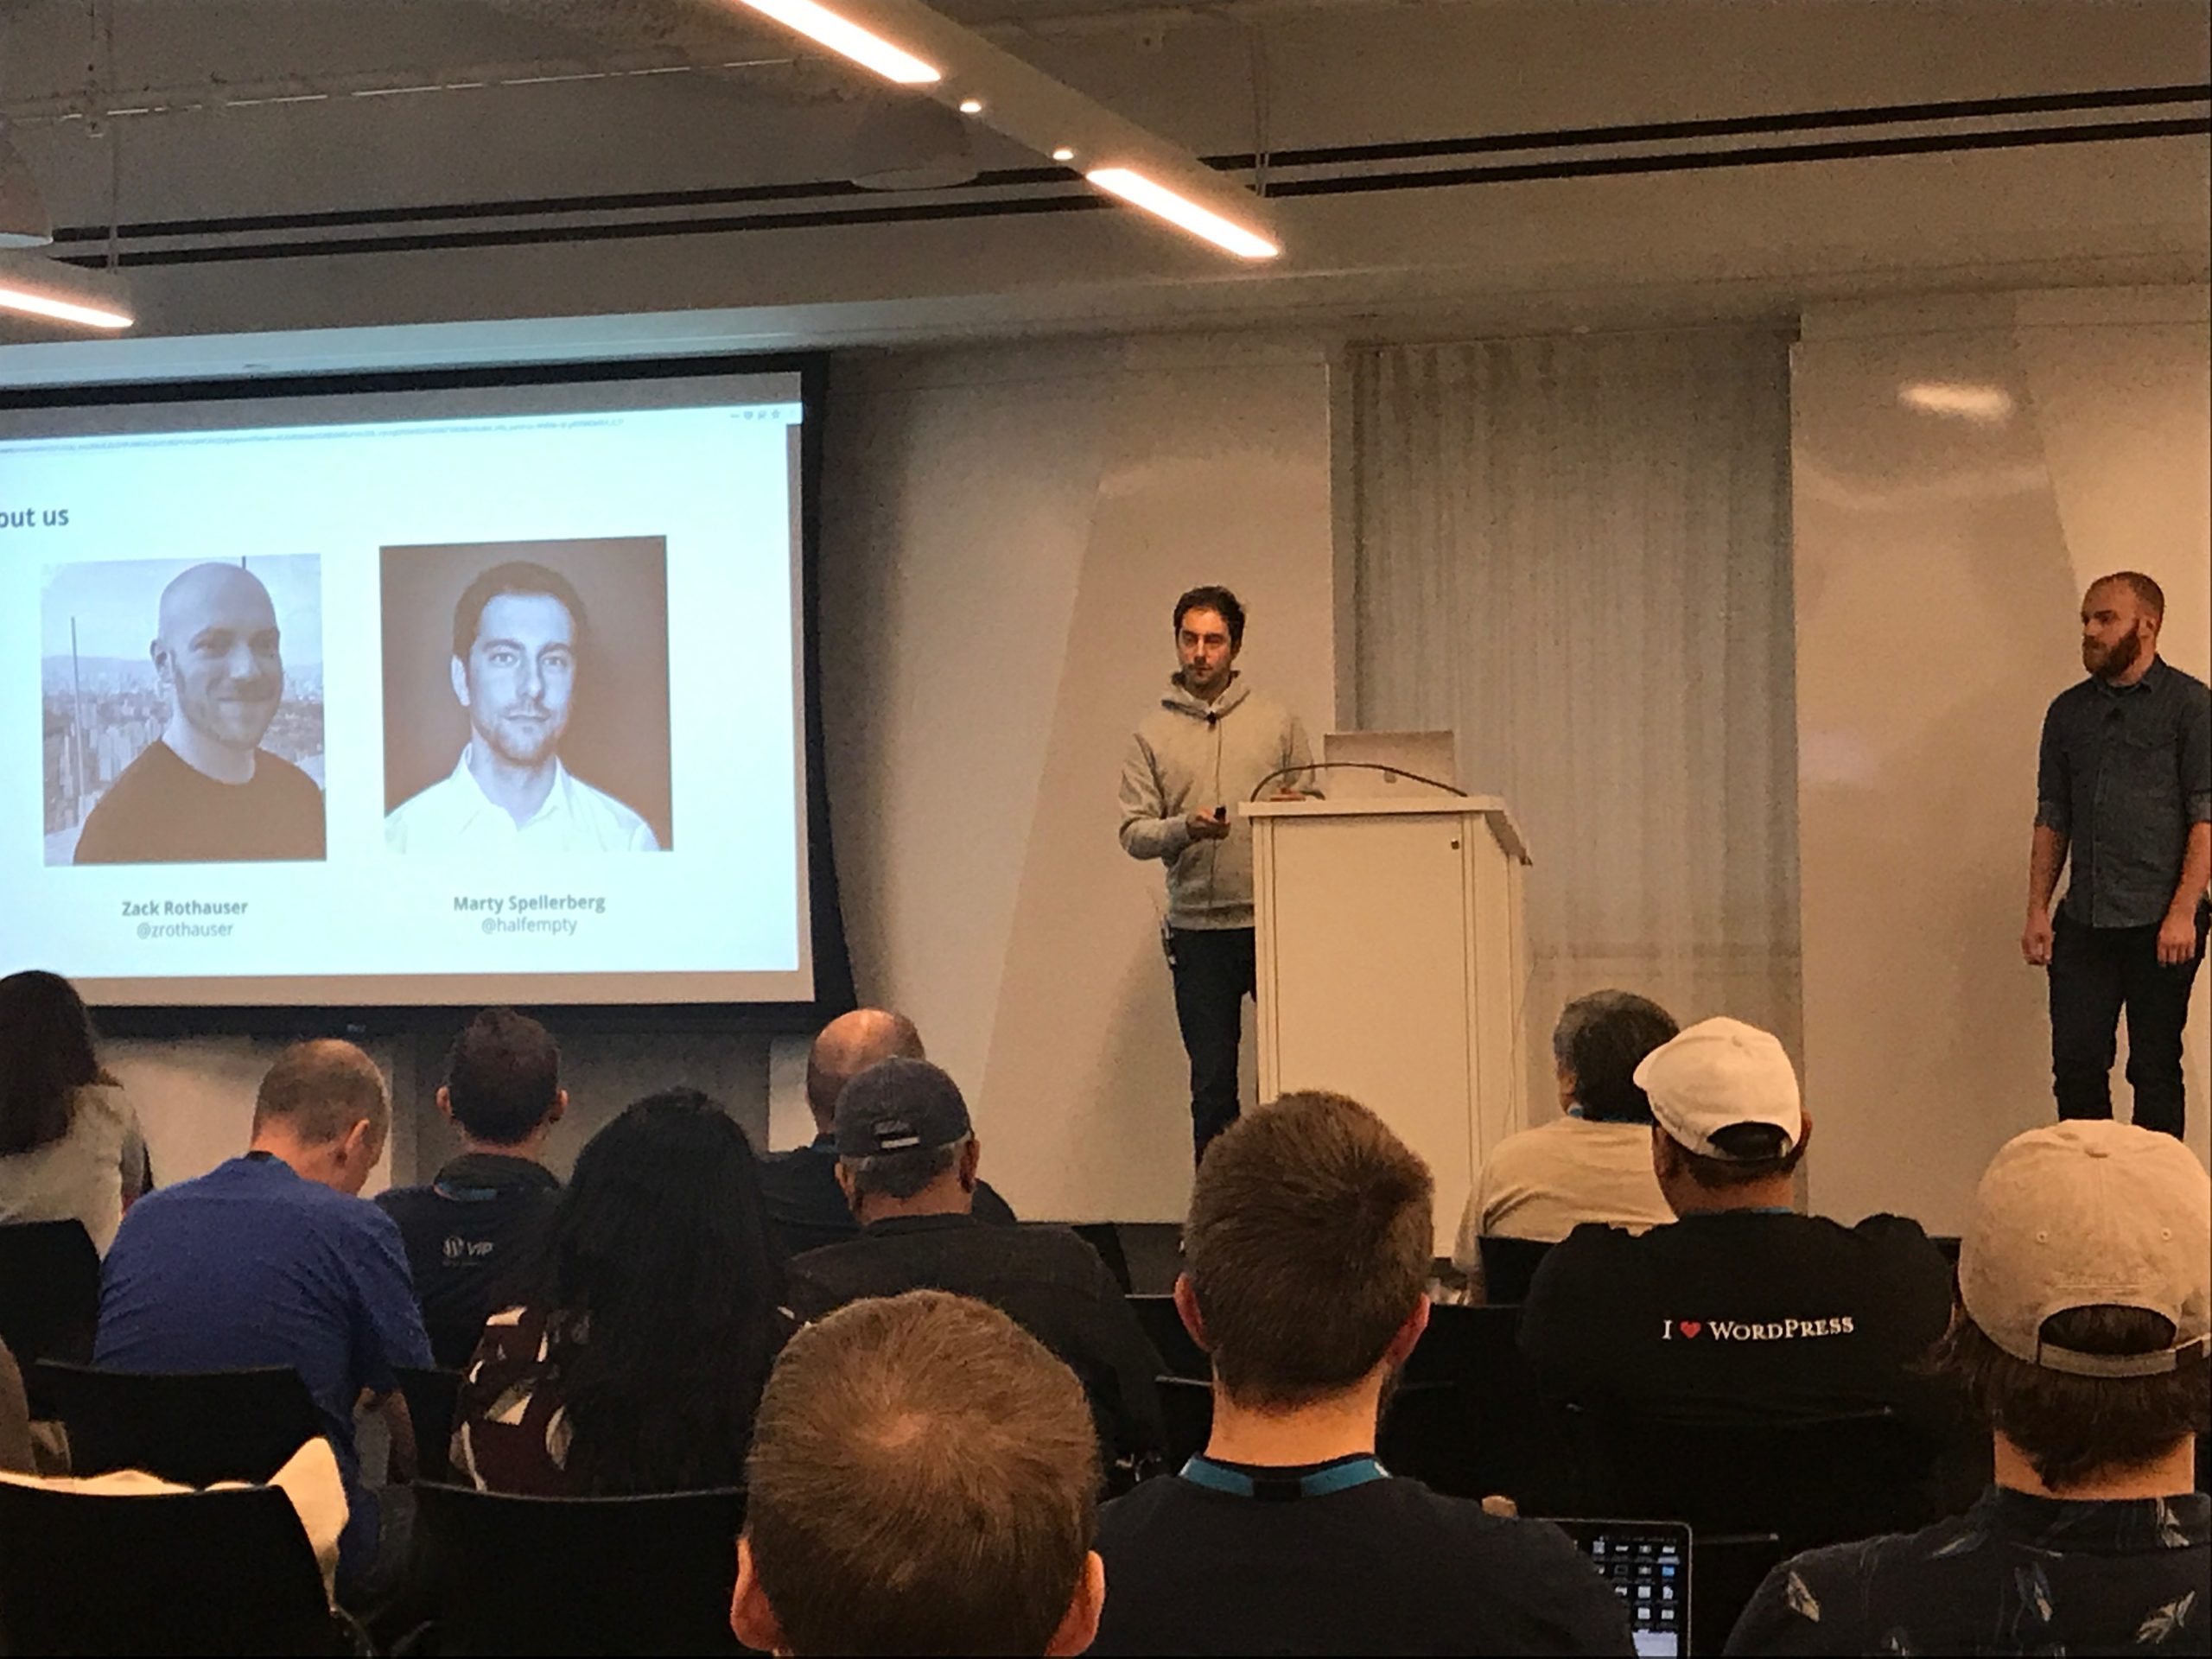
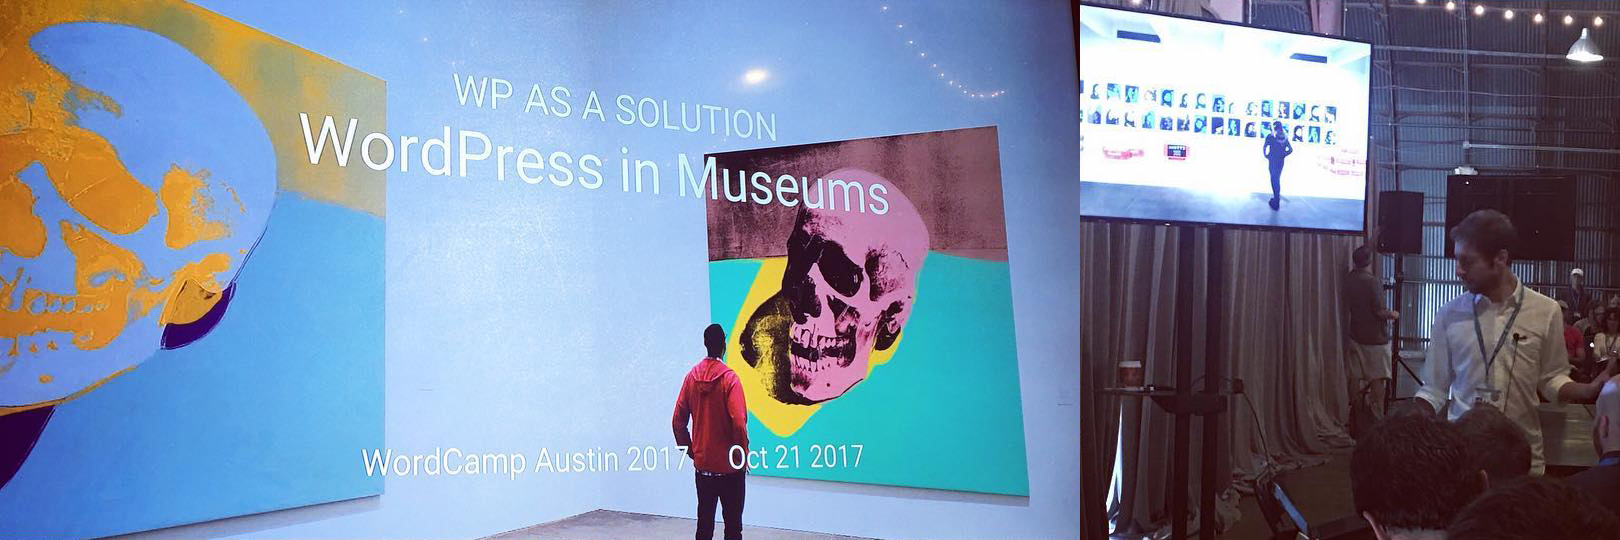
In 2017 I presented at two WordCamps: DC with Desi González, and Austin with Zack Rothauser.
Here’s how we described the DC talk:
In May 2017, The Andy Warhol Museum in Pittsburgh, PA rolled out a redesigned website, built on on WordPress. Read more
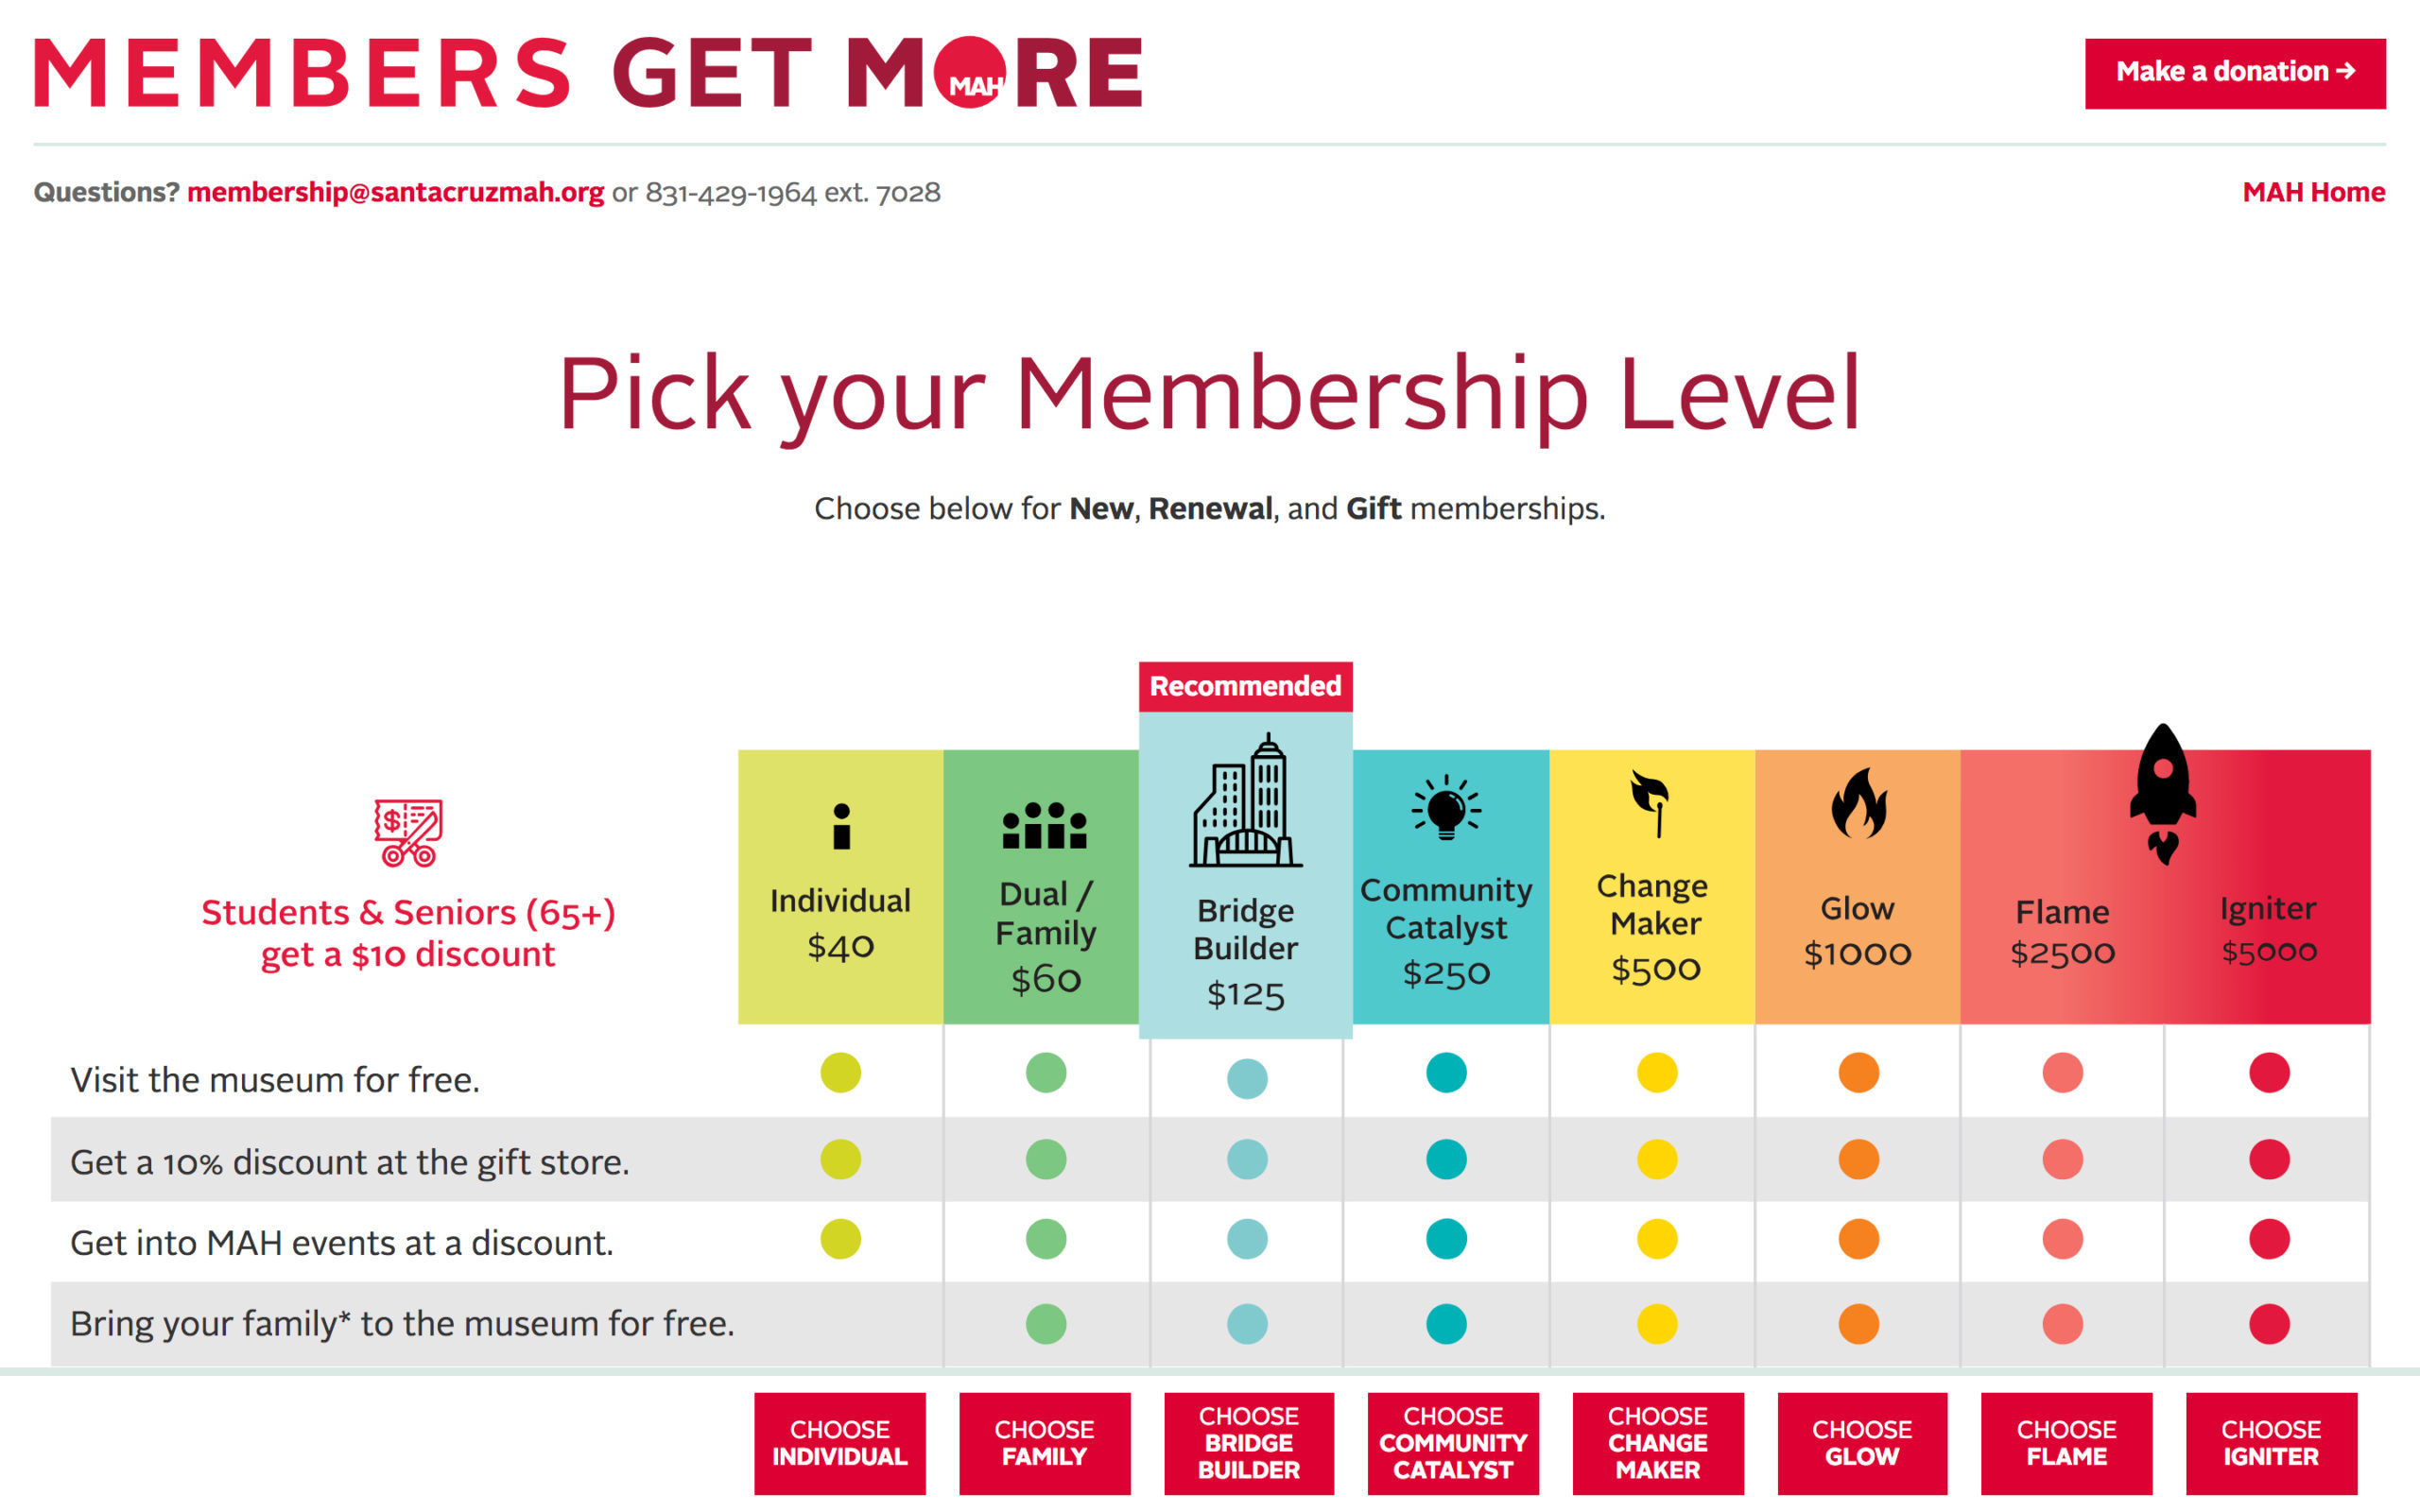
As part of our ongoing work with The Santa Cruz MAH, we recently refreshed the microsite used for membership renewals. The site is build on WordPress and Gravity Forms, with various plugins providing functionality including those from For Gravity, gravity+ and Gravity Wiz. Read more
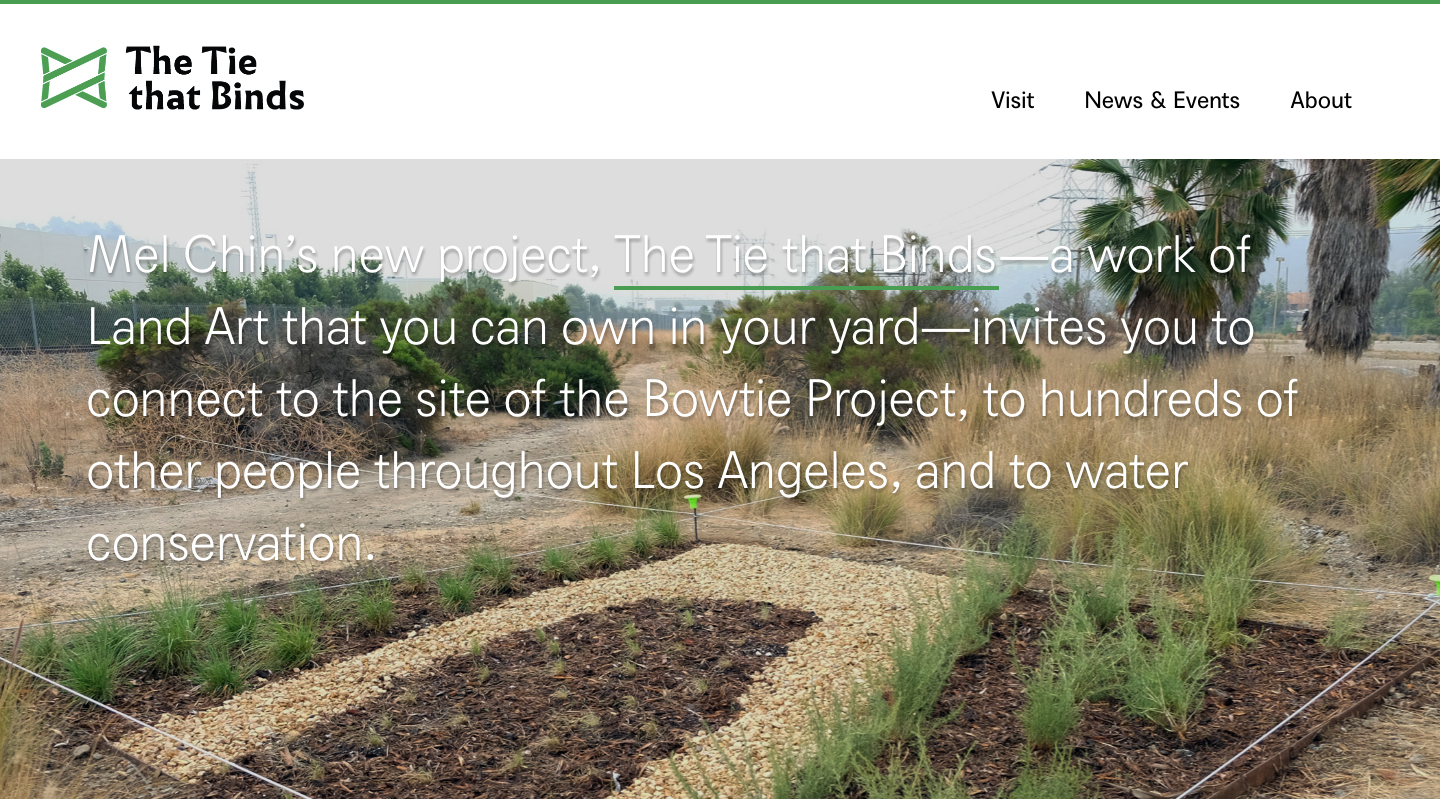
I’m happy to have launched the website for artist Mel Chin’s land art project, The Tie That Binds, part of CURRENT:LA Water, Los Angeles’s inaugural public art biennial.
Originally from Houston Texas, Mel Chin is known for works that require multi-disciplinary, collaborative teamwork that conjoin cross-cultural aesthetics with complex ideas. Read more
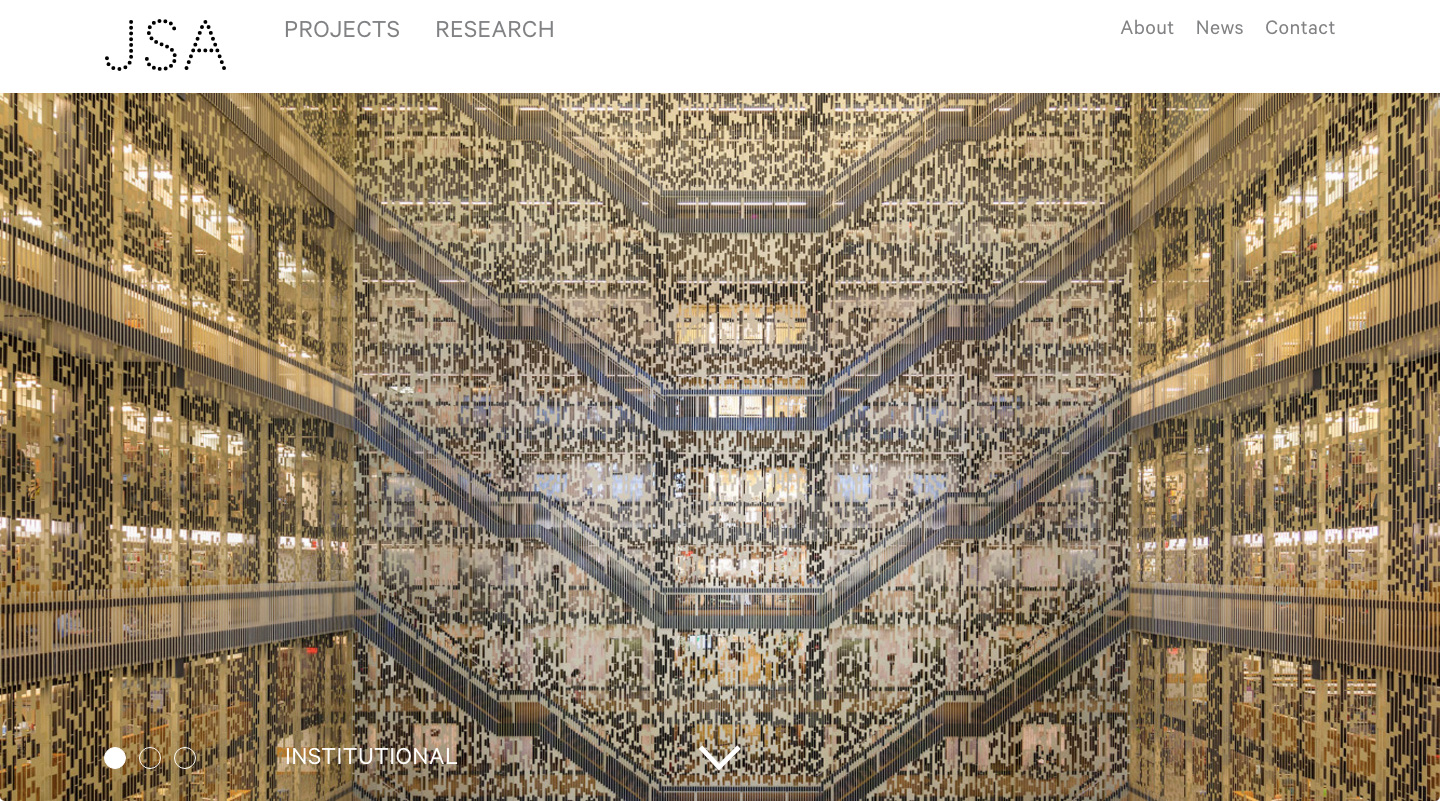
Led by Principal Joel Sanders, JSA “creates innovative and sustainable environments in response to today’s rapidly changing culture.” Sanders is a Professor of Architecture at Yale University and former Director of the Graduate Program in Architecture at Parsons School of Design. Read more
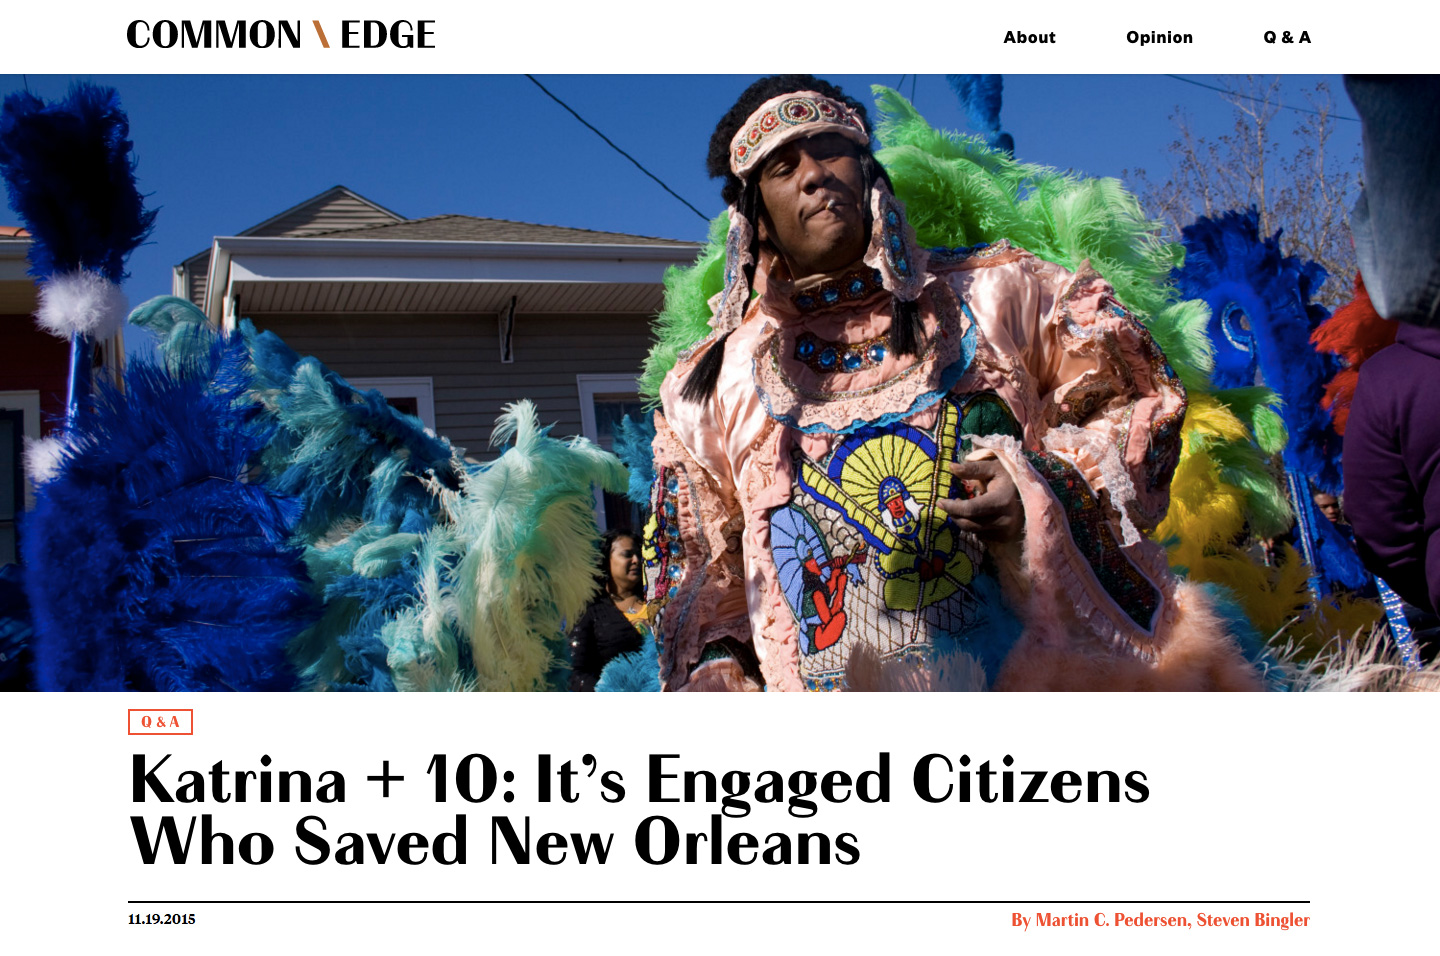
Founded by Martin C. Pedersen and Steven Bingler, Common Edge is a non-profit organization dedicated to “reconnecting architecture and design with the public that it’s meant to serve.” The website features essays, interviews and commentary by architects and thinkers in the field. Read more
I’ll presenting a session at MCN2015 in Minneapolis this November, in collaboration with Sarah Wambold. Titled WordPress as Museum Web CMS: Development and Content Strategy, the core audience for this discussion will be web teams considering implementing a CMS (or switching from another), are evaluating WordPress and want to know what to expect. Read more
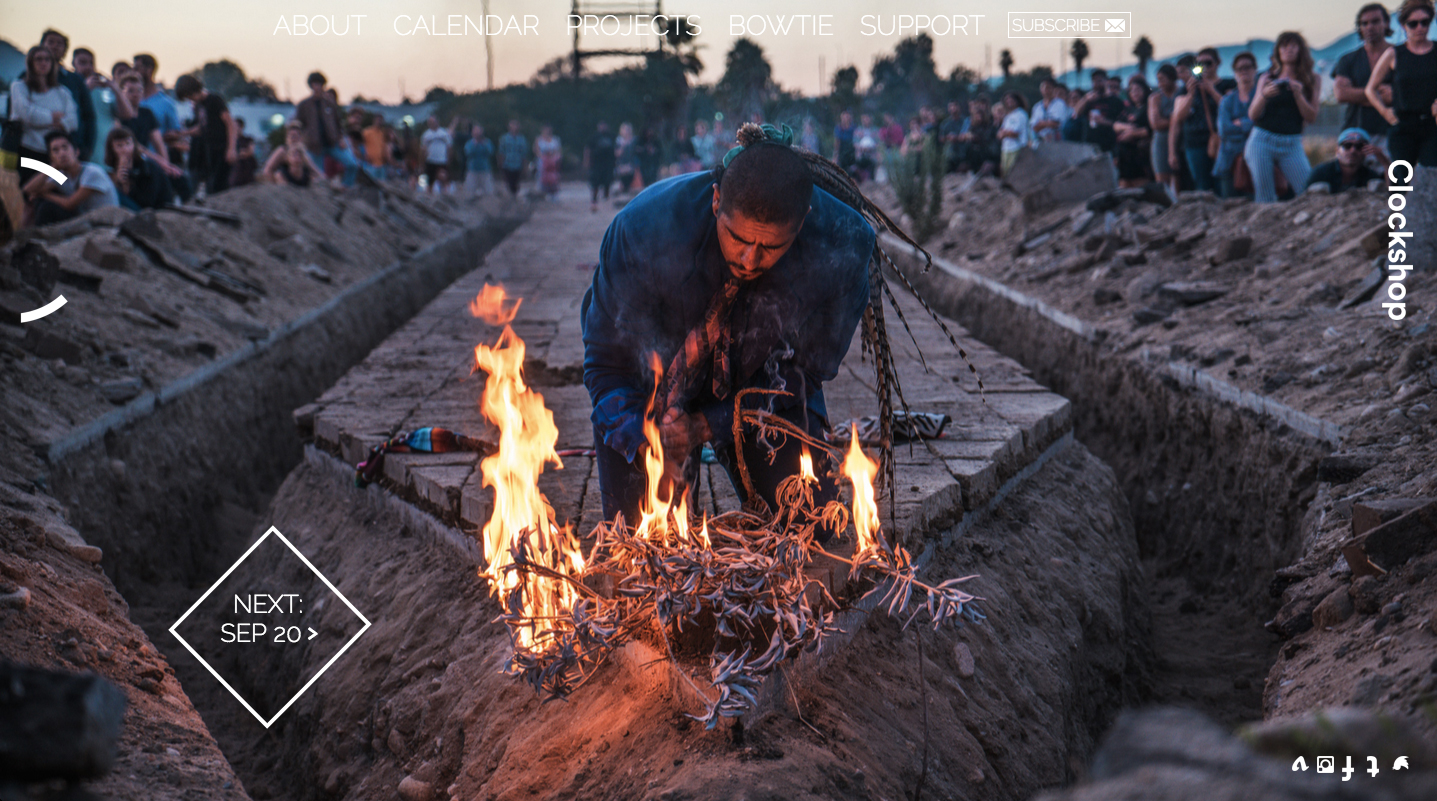
Clockshop homepage
Clockshop is an arts organization in Los Angeles, working “at the intersection of politics, urban space, and cultural production to explore the forces that shape our lived environment.” They do a lot of site-specific programming involving locations and communities in the city. Read more
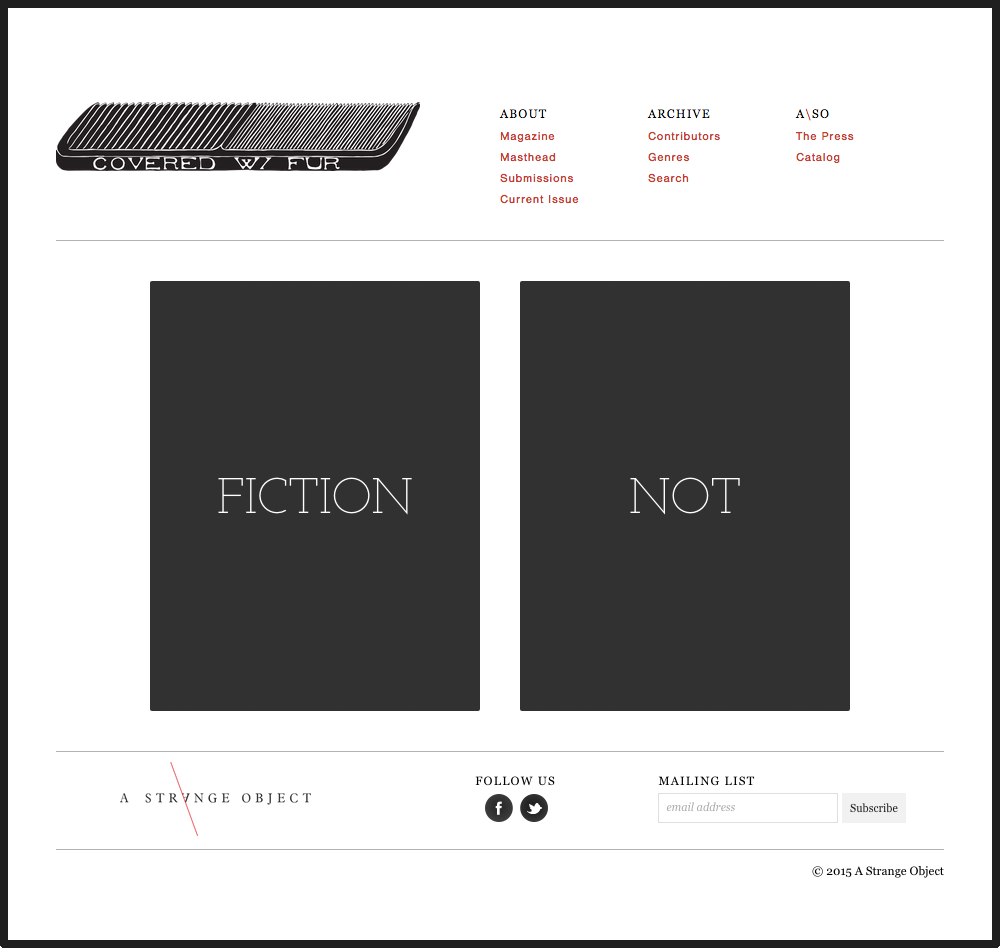
In 2014 I was fortunate to work with A Strange Object , a small press in Austin Texas, on Covered with Fur, their vision for an online literary magazine. I became involved during the later stages of the process, to help them with their final push, and was curious to know how the project had developed from inception. So I asked my collaborator Joe Costello, a usability specialist with a background in small press publishing, to flesh out the story...
clyffordstillmuseum.org
Featuring a bold, responsive design, the new website for the Clyfford Still Museum launched in October, 2014. This new site helps the museum position itself as a destination, a site of pilgrimage for art lovers interested in the life and work of master abstract expressionist painter Clyfford Still. Read more
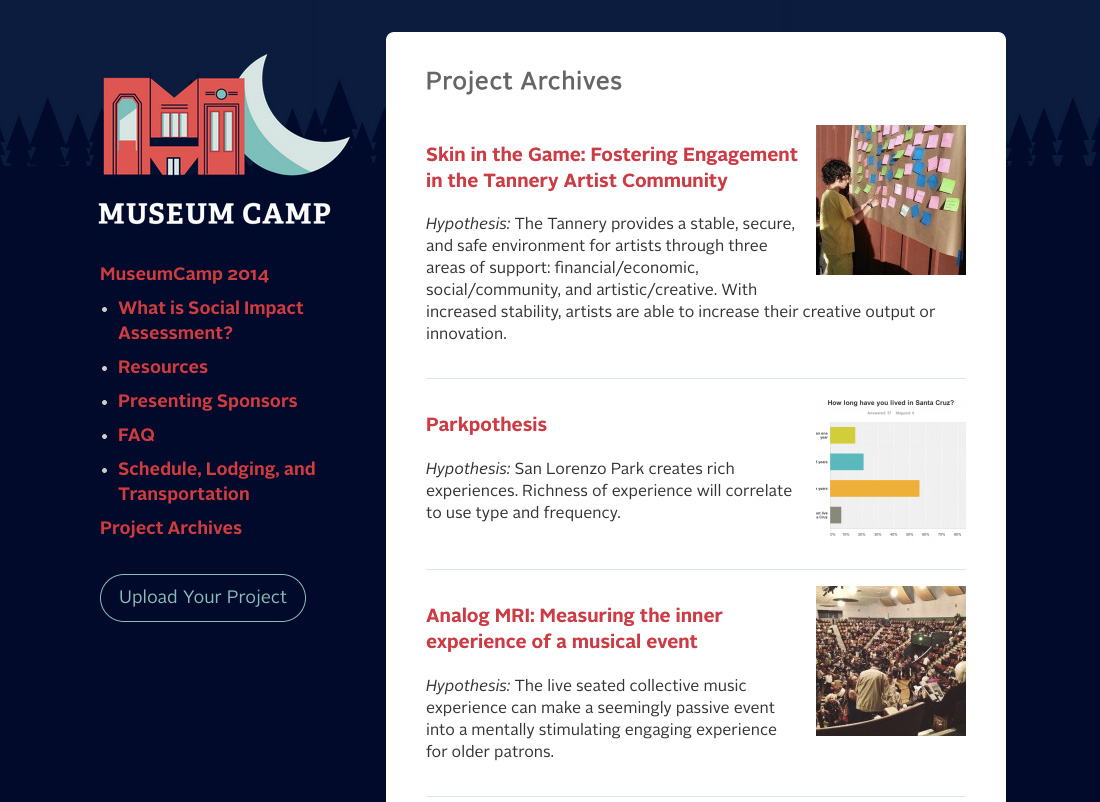
Museum Camp
Museum Camp is an annual conference produced by the Santa Cruz Museum of Art & History. The format is similar to a hack-a-thon: Participants have 72 hours to work on a project consistent with a theme. This year’s theme was “Social Impact Assessment” and involved conducting research projects based on different locations around Santa Cruz. Read more