This is a follow-up to my previous post on integrating WordPress and Google Maps. Damien asks:
“Would it be possible to centre the map on my latest post?”
Yes, it is!
This builds off the example in the previous post and I’m using the Address Geocoder plugin to set latlngs. Read more
This is a follow-up to my previous post on combining WordPress and Google Maps. Jayc asks:
“Is there any way to change the MarkerImage to the featured image for the post?”
Yes, there is!
But one thing to keep in mind is that markers are not one image but two — the marker itself and the shadow. Read more
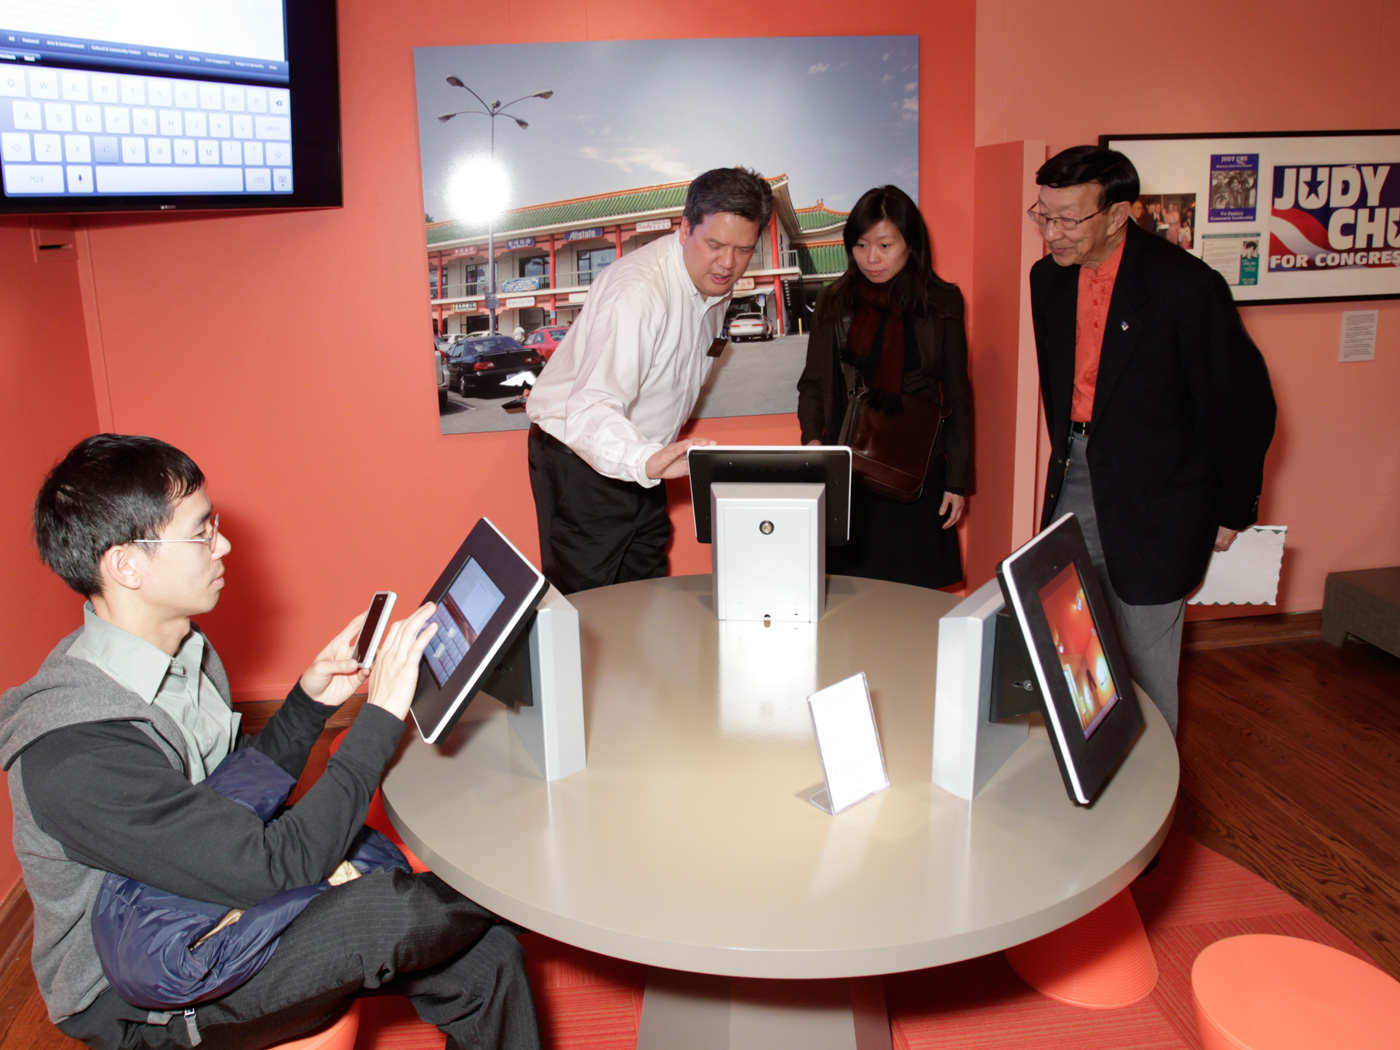
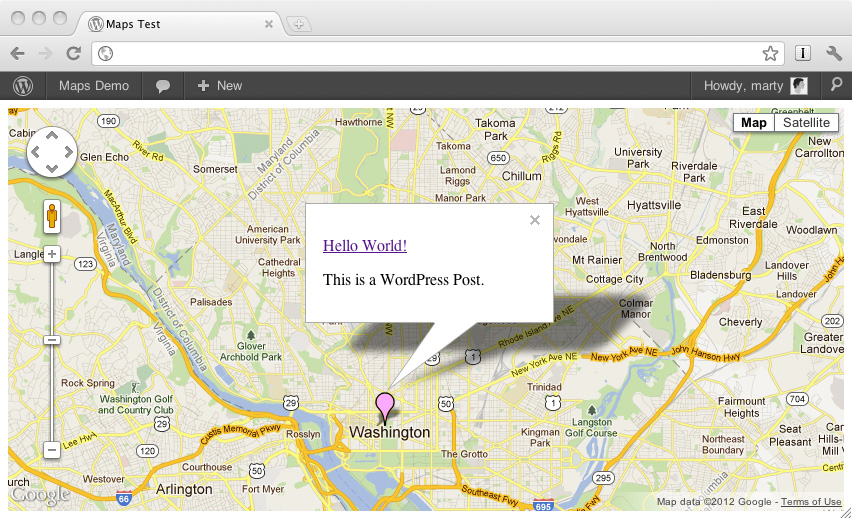
Here we will go through the steps for creating a Google Maps interface for a WordPress blog. Posts will appear as markers on the map, which you can click to reveal the post content in the Google Maps Infowindow.
Download a ZIP of the complete example. Read more
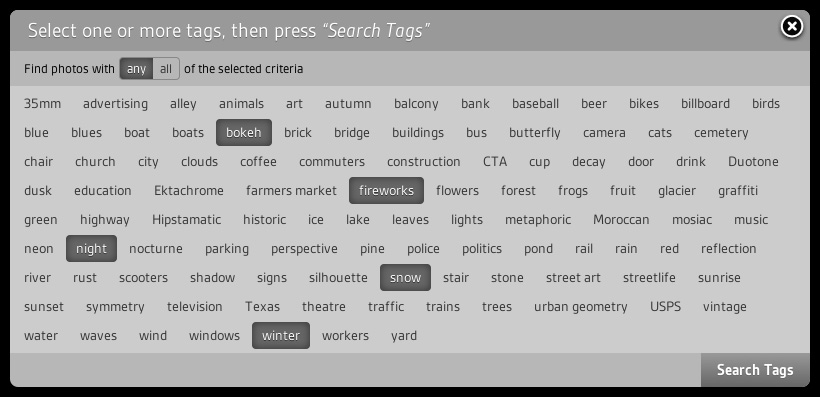
The technique applied on Seth Anderson’s photo site.
The WordPress taxonomy functions make it easy to give your visitors links to per-tag archives of posts. But is it possible to give them archives of more than one tag? Sure it is! Read more
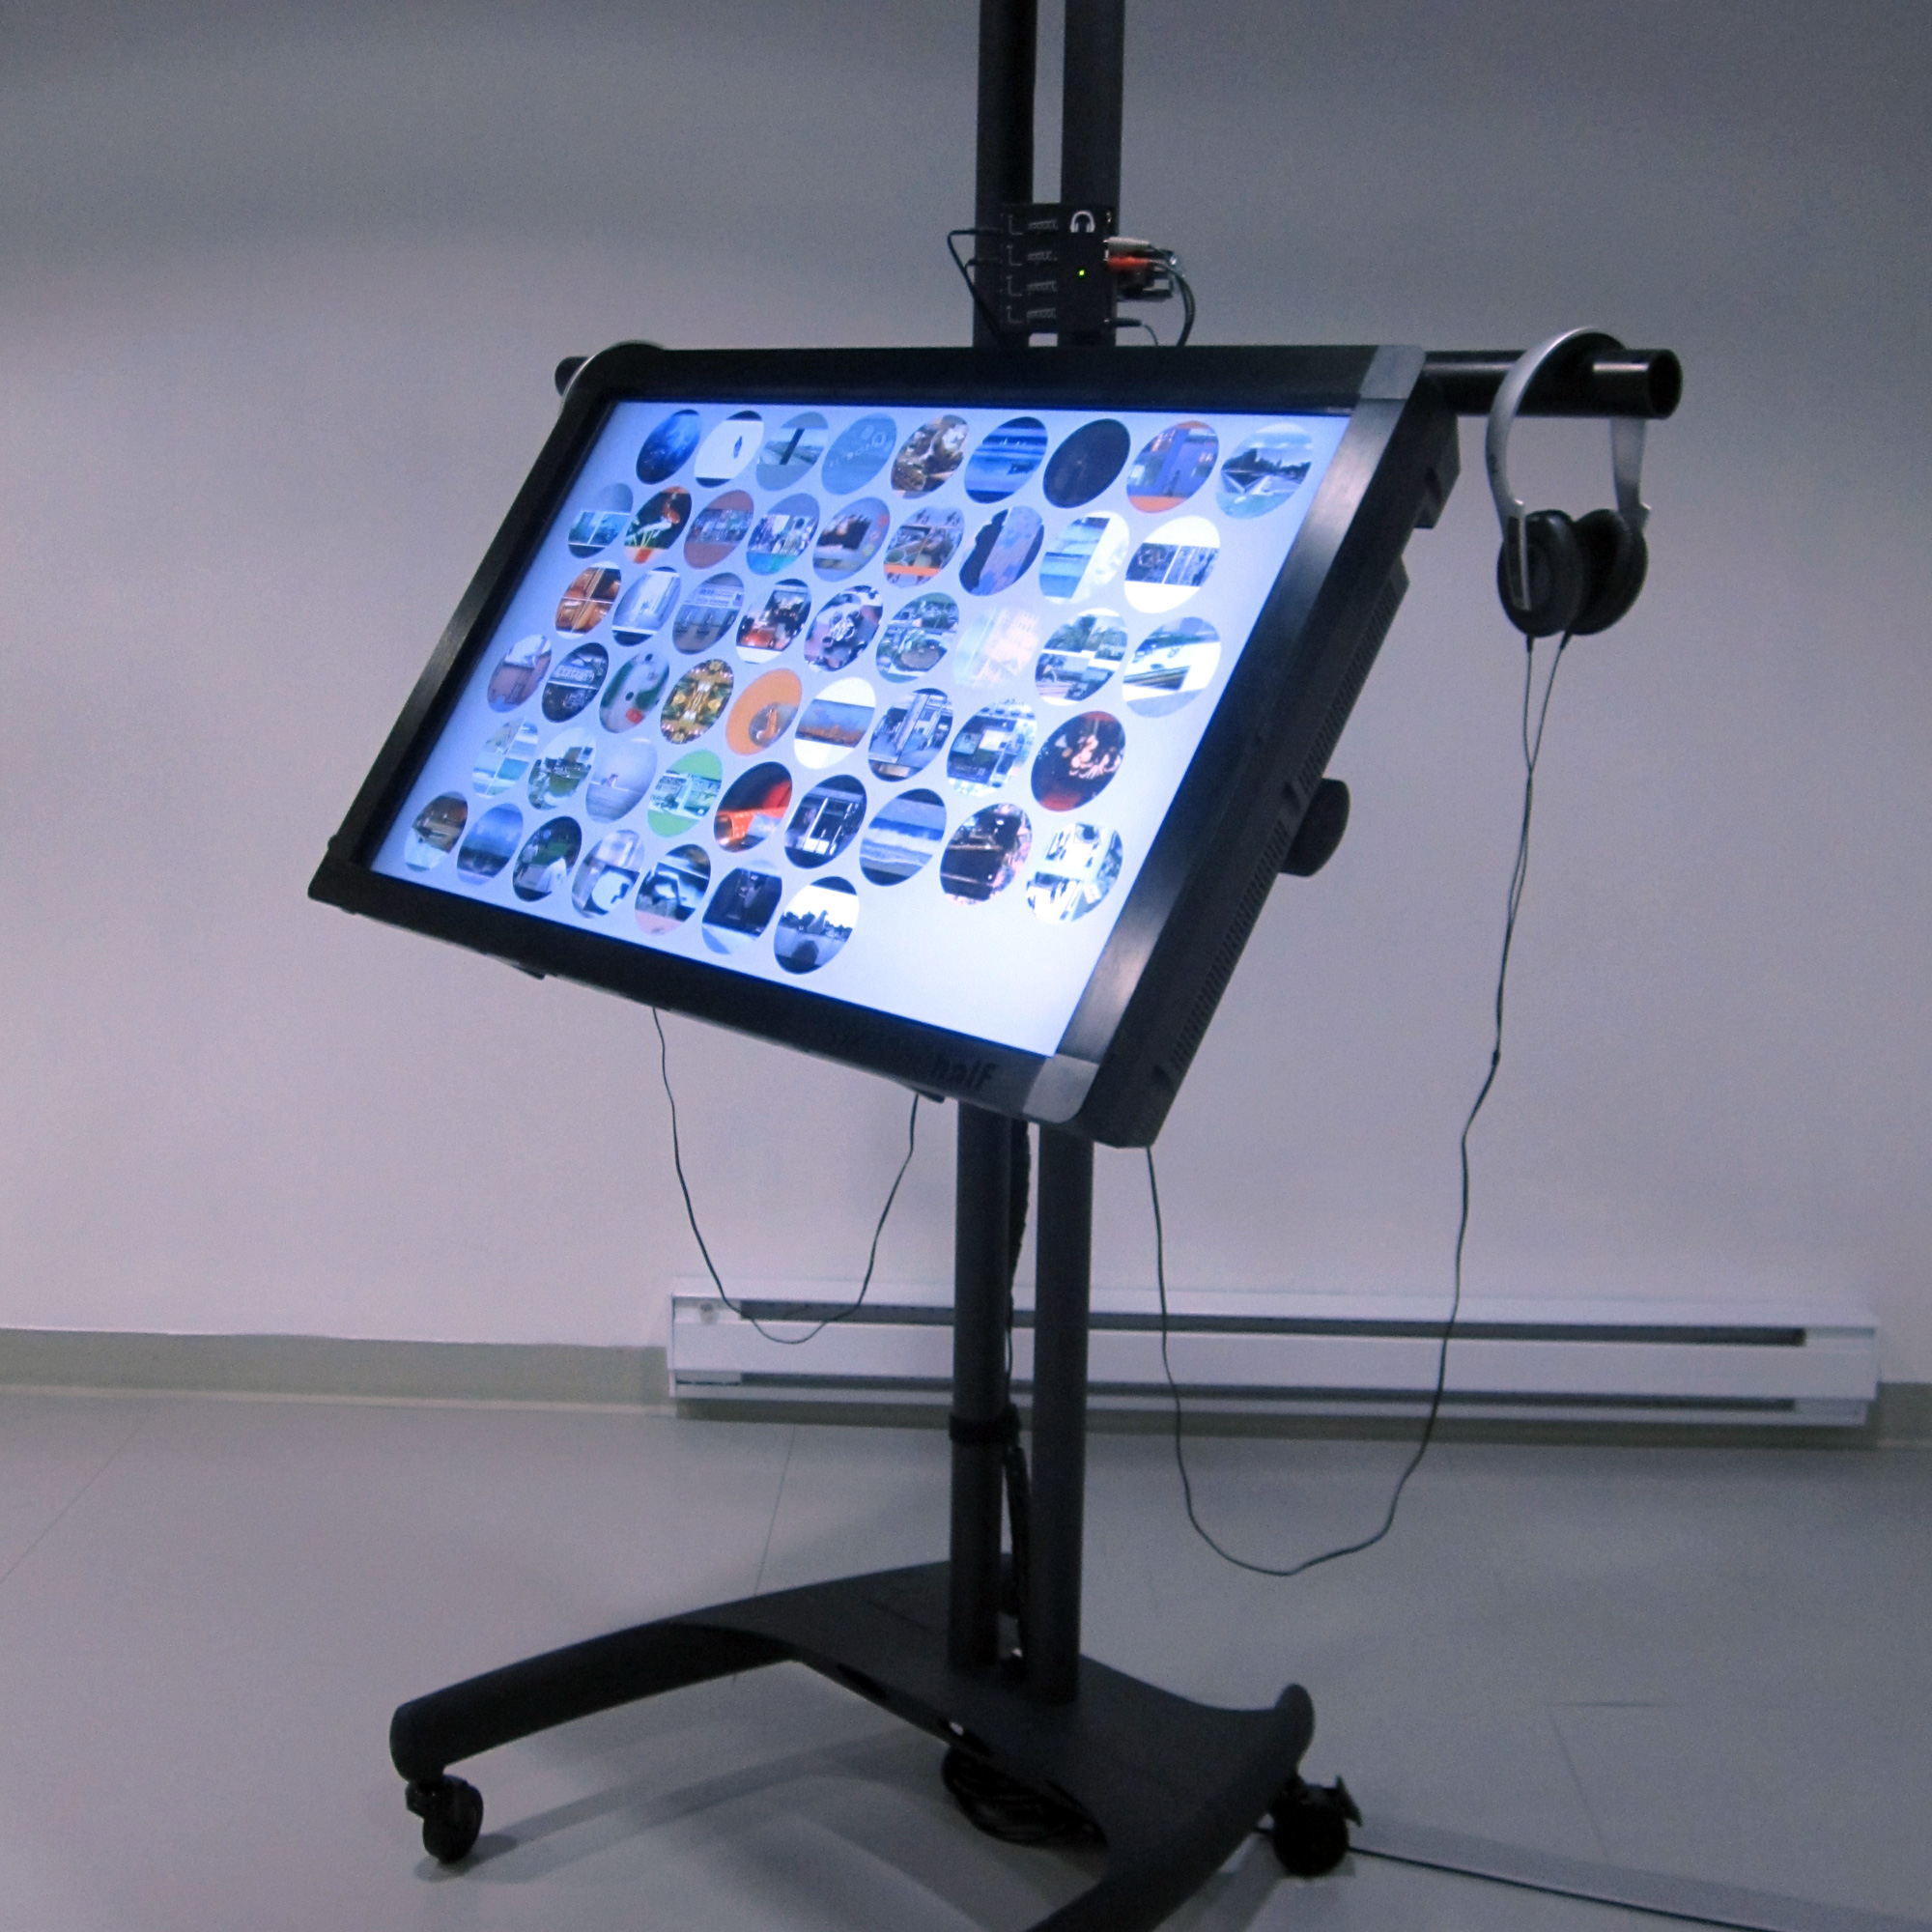
An interface to display short video clips in a gallery setting.
Interactive Touchscreen Interface using jQuery and HTML5 Video
Playing a video.
In 2009 artist Midi Onodera created a series of 52 short clips designed for podcasting. I have been fortunate to be involved in this project, providing technical support and new media development. Read more
Since version 2.5 WordPress has included the ability to upload images and “attach” them to posts and pages. The user can upload a batch of images and the system will create copies at various sizes specified in the site settings. There’s an interface for setting an order and captions. Read more
Hi there. I posted previously about making jQuery tabs, but this week I found myself wanting take that code a bit further. In the old version, the “controls” were written out in a ul above the slides. It got the job done, but wasn’t ideal from a progressive-enhancement point of view (non-JS don’t really have much need for them, so they really shouldn’t be there for those users). Read more
Hello! I posted previously about a simple jQuery slideshow I created for accessing sets on Flickr. To use it at work, where we’re running ModX CMS, I turned it into an easily-reusable “snippet.” You can see it in action here.
Here’s what you do:
Call jQuery in the head of your template. Read more
Hi there. I’m learning jQuery and finding it super easy and fun to work with!
Here’s a simple fade-in/out slideshow I wrote for a friend’s website. I knew there were already plug-ins out there for achieving this sort of thing, but I decided to write my own in order to become more familiar with some of the basic concepts. Read more
Updated June 20, 2010: There’s an improved version of this code posted here. Use it instead!
I am learning jQuery and really loving it! Here’s a simple bit of code I wrote to achieve an interface element. It’s basically tabs — there’s a list of links and when you click one the corresponding content is shown. Read more
Made under the ☀ in Austin, Texas. WordPress hosting by WP Engine, thanks y’all!